How to Read Light in Landscape Photography
TRAVELLING THROUGH SOUTH-WEST NORWAY IN SUMMER LIGHT
INTRODUCTION
Last year in June, I was invited to join a group of friends on a camping trip across Norway. We travelled through the south-west region and were constantly on the move, rarely staying in one place for long. Most of the time, we stopped only when something looked interesting enough to pull over. That meant I had very limited time to observe and react before we moved again.
Stopped here briefly while driving through the valley. Bright midday light and snow still on the peaks made the scene look strong in person, but without directional light it felt flat in the image.
What made it more challenging was the time of year. In June, daylight dominates most of the day in Norway. The sun stays high for long periods, and strong, even light is much more common than short, directional light. That makes it harder to create depth and separation in images, especially in open landscapes.
Calm water and clean reflections made this scene work, but the strong midday light kept everything evenly lit and reduced depth across the landscape.
Because we were moving all the time, I couldn’t wait for ideal conditions. I had to decide quickly whether the light was doing something useful or not. That forced me to pay attention to light first, and only then think about composition. Over time, that became a habit rather than a decision.
LIGHT IS DIRECTION, NOT JUST BRIGHTNESS
When we stopped by one of the fjords, steep cliffs were rising straight from the water. At first, the scene didn’t stand out. Most of it was in shadow, and the light felt flat. Then light broke through and hit one side of the mountain, and the structure of the scene became much clearer.
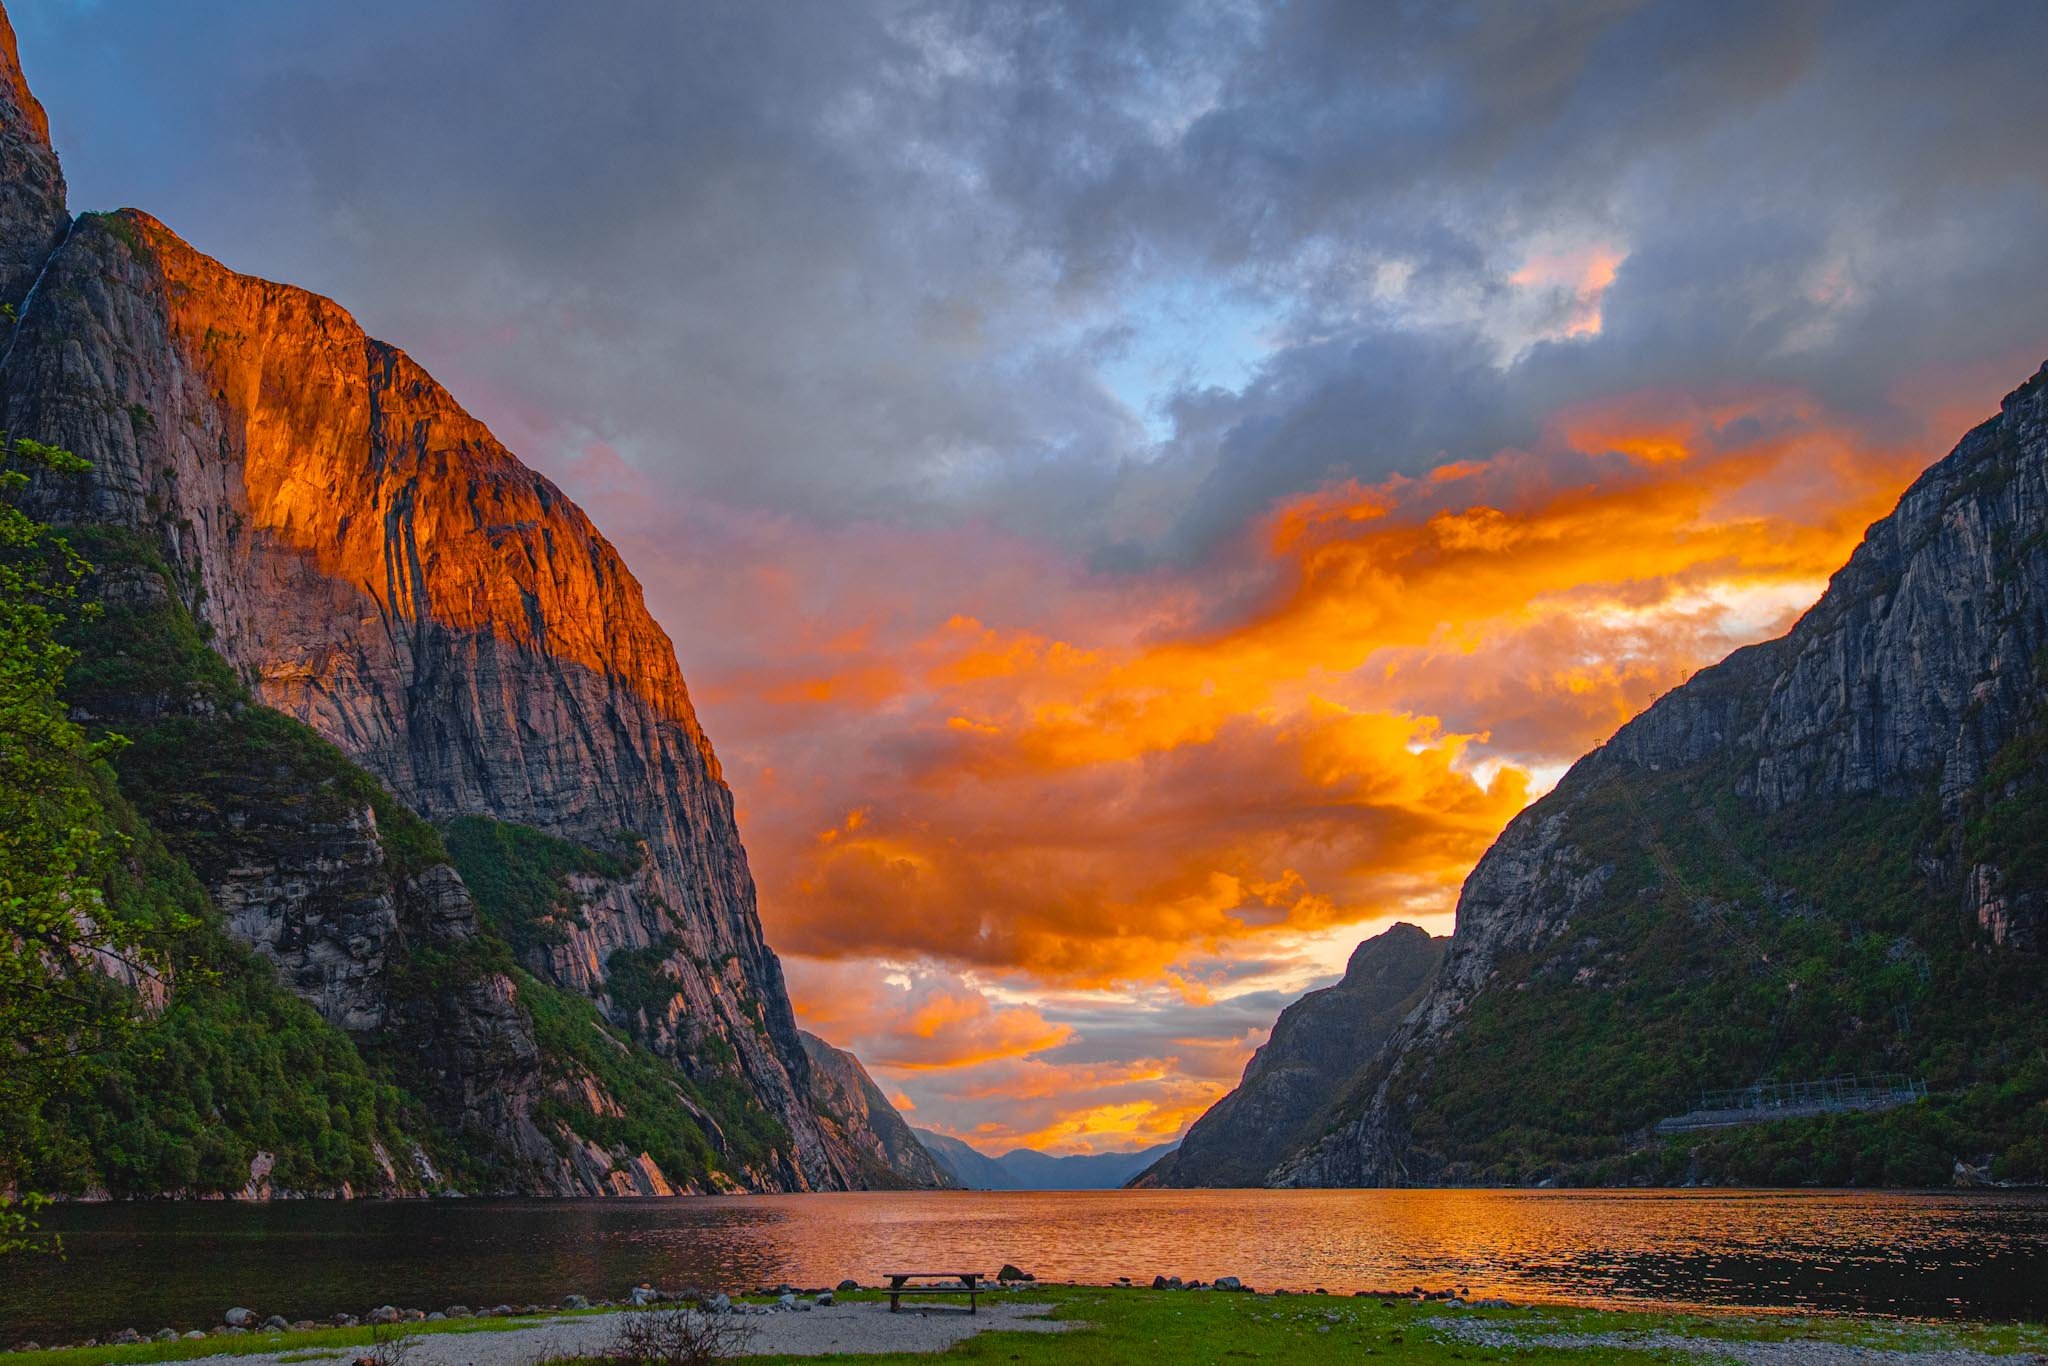
Here the light is coming from the side, hitting only part of the cliff and creating depth immediately. The scene didn’t change, only the direction of light did.
That single change gave the scene depth and shape. The lit side showed texture, while the rest stayed darker and receded into the background. I didn’t need to adjust my position or reframe the shot. The composition was already there, but it only worked once the light added structure.
That’s what to look for. If light is coming from the side and creating shadows, it will add depth. If everything is evenly lit, the scene will usually feel flat no matter how strong the location is. This becomes much easier to recognise once you start comparing the same scene under different light.
Enjoying the article? Follow along on Instagram for more of my work
WATCHING HOW LIGHT MOVES
In these conditions, light rarely stays in one place. Clouds move quickly, and the landscape is often only partially lit. You rarely get a scene where everything works at the same time.
There were many stops where nothing happened for a while. Everything looked the same, with no clear direction. Then the clouds would shift slightly, and light would appear in a specific area for a few seconds. It often disappeared just as quickly as it arrived.
Light started breaking through the clouds in short bursts, hitting different parts of the valley for a few seconds at a time. Watching how it moved made it easier to anticipate where it would land next.
Instead of reacting when it happens, it helps to watch first. Look at how the clouds are moving and where the light is already hitting. If you can see a pattern, you can prepare for it instead of reacting too late. This saves time and reduces missed shots.
If light is moving towards your composition, stay and wait. If it’s moving away or disappearing completely, it’s usually not worth staying. Making that decision quickly becomes important when you don’t have time to wait.
SOFT LIGHT AND HARD LIGHT
Most of the time, especially in June, the light is either very even or very direct. Both can be limiting if you don’t adjust how you shoot. Understanding when to simplify and when to focus becomes important.
In overcast conditions, the light is soft and diffused. There are no strong shadows, which means you won’t get depth from light direction. In those situations, it’s better to simplify. Look for clean compositions, reflections, or minimal scenes that don’t rely on contrast.
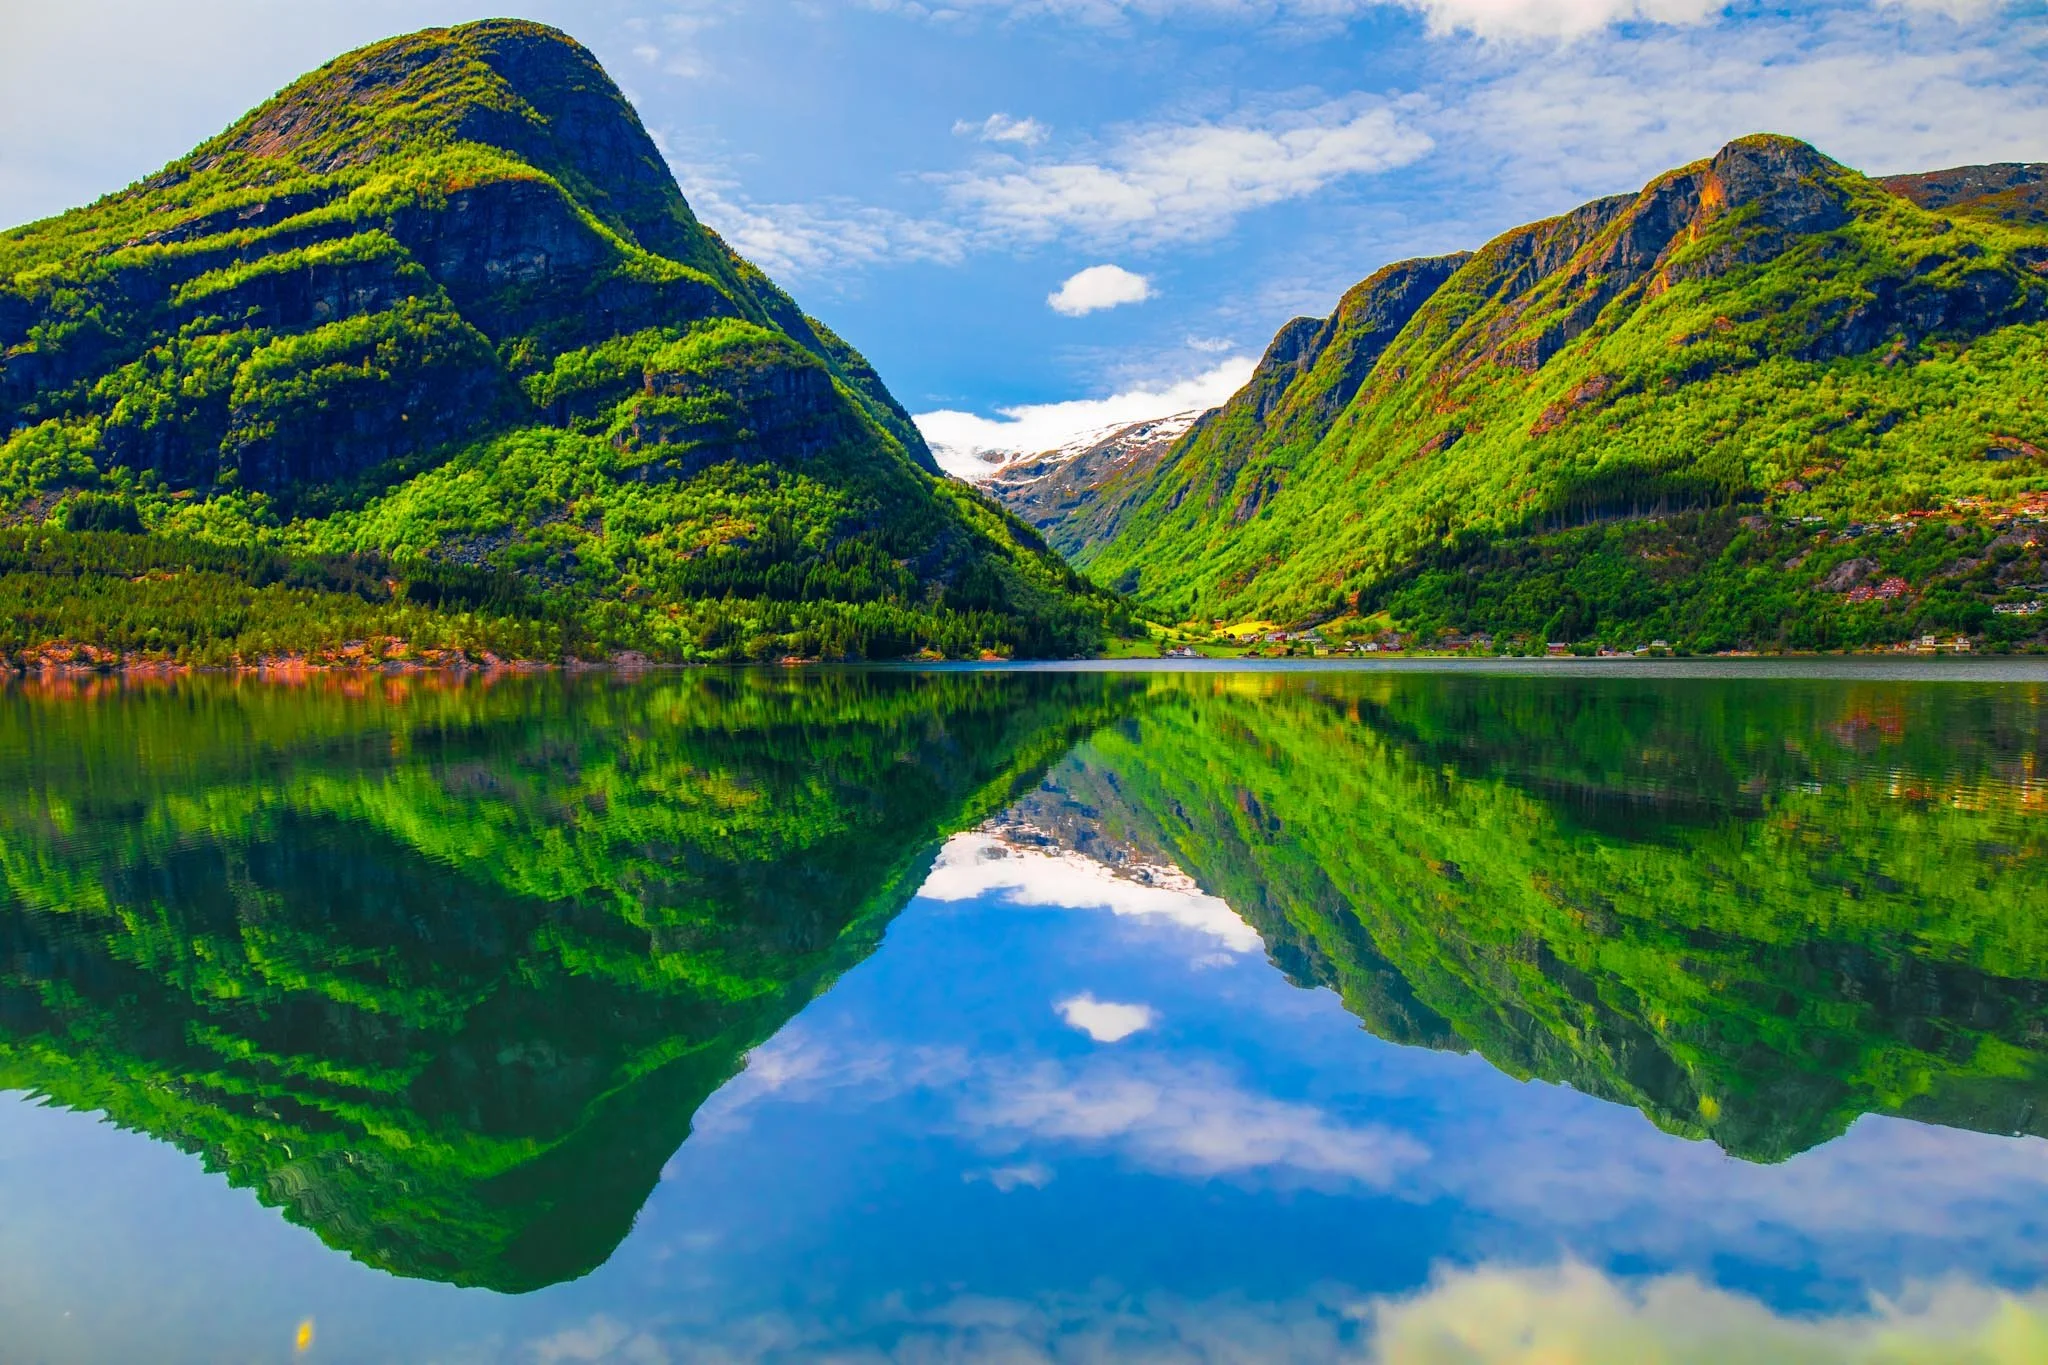
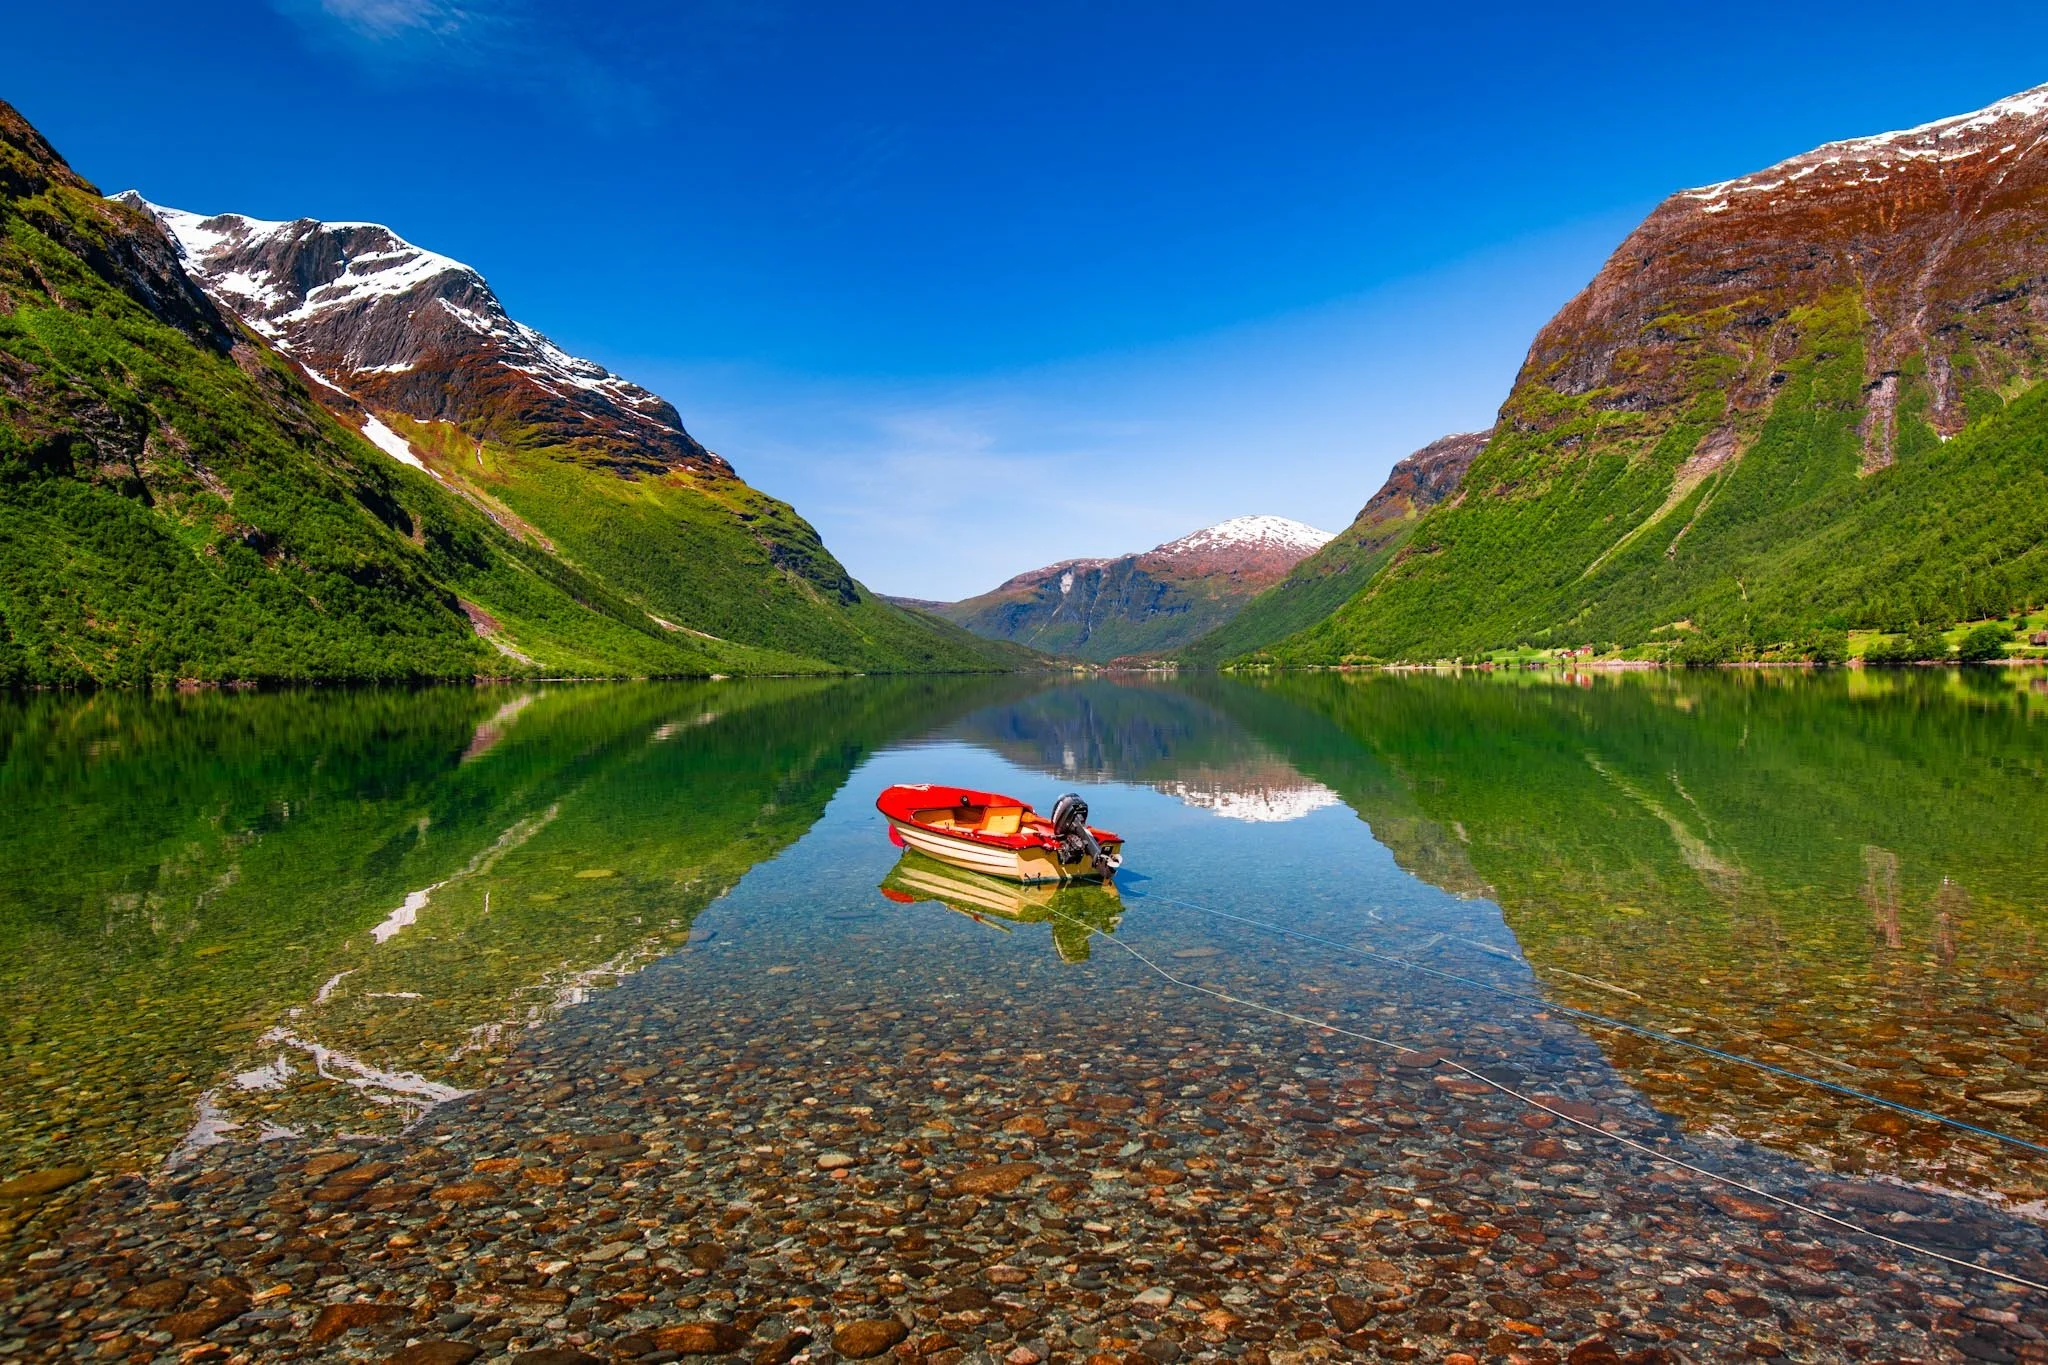
No strong direction in the light here, but the still water and symmetry made the scene work. In these conditions, keeping the composition simple becomes more important than waiting for better light.
At one of the lakes, the water was completely still and the reflection was clear. There was no strong light, but the scene worked because it was simple and balanced. This kind of light works better when you stop trying to add complexity.
When the sun breaks through, the opposite happens. You get strong highlights and deep shadows. Instead of trying to balance everything, it often works better to focus on the part of the scene where the light is strongest and let the rest fall away.
LOOK FOR CONTRAST CREATED BY LIGHT
Light becomes useful when it creates separation. Without it, scenes tend to feel flat and undefined. This is especially noticeable in large open landscapes.
One of the clearest examples was when a rainbow appeared briefly over a fjord. What made it stand out was the darker background behind it. Without that contrast, it wouldn’t have been as visible or as strong.
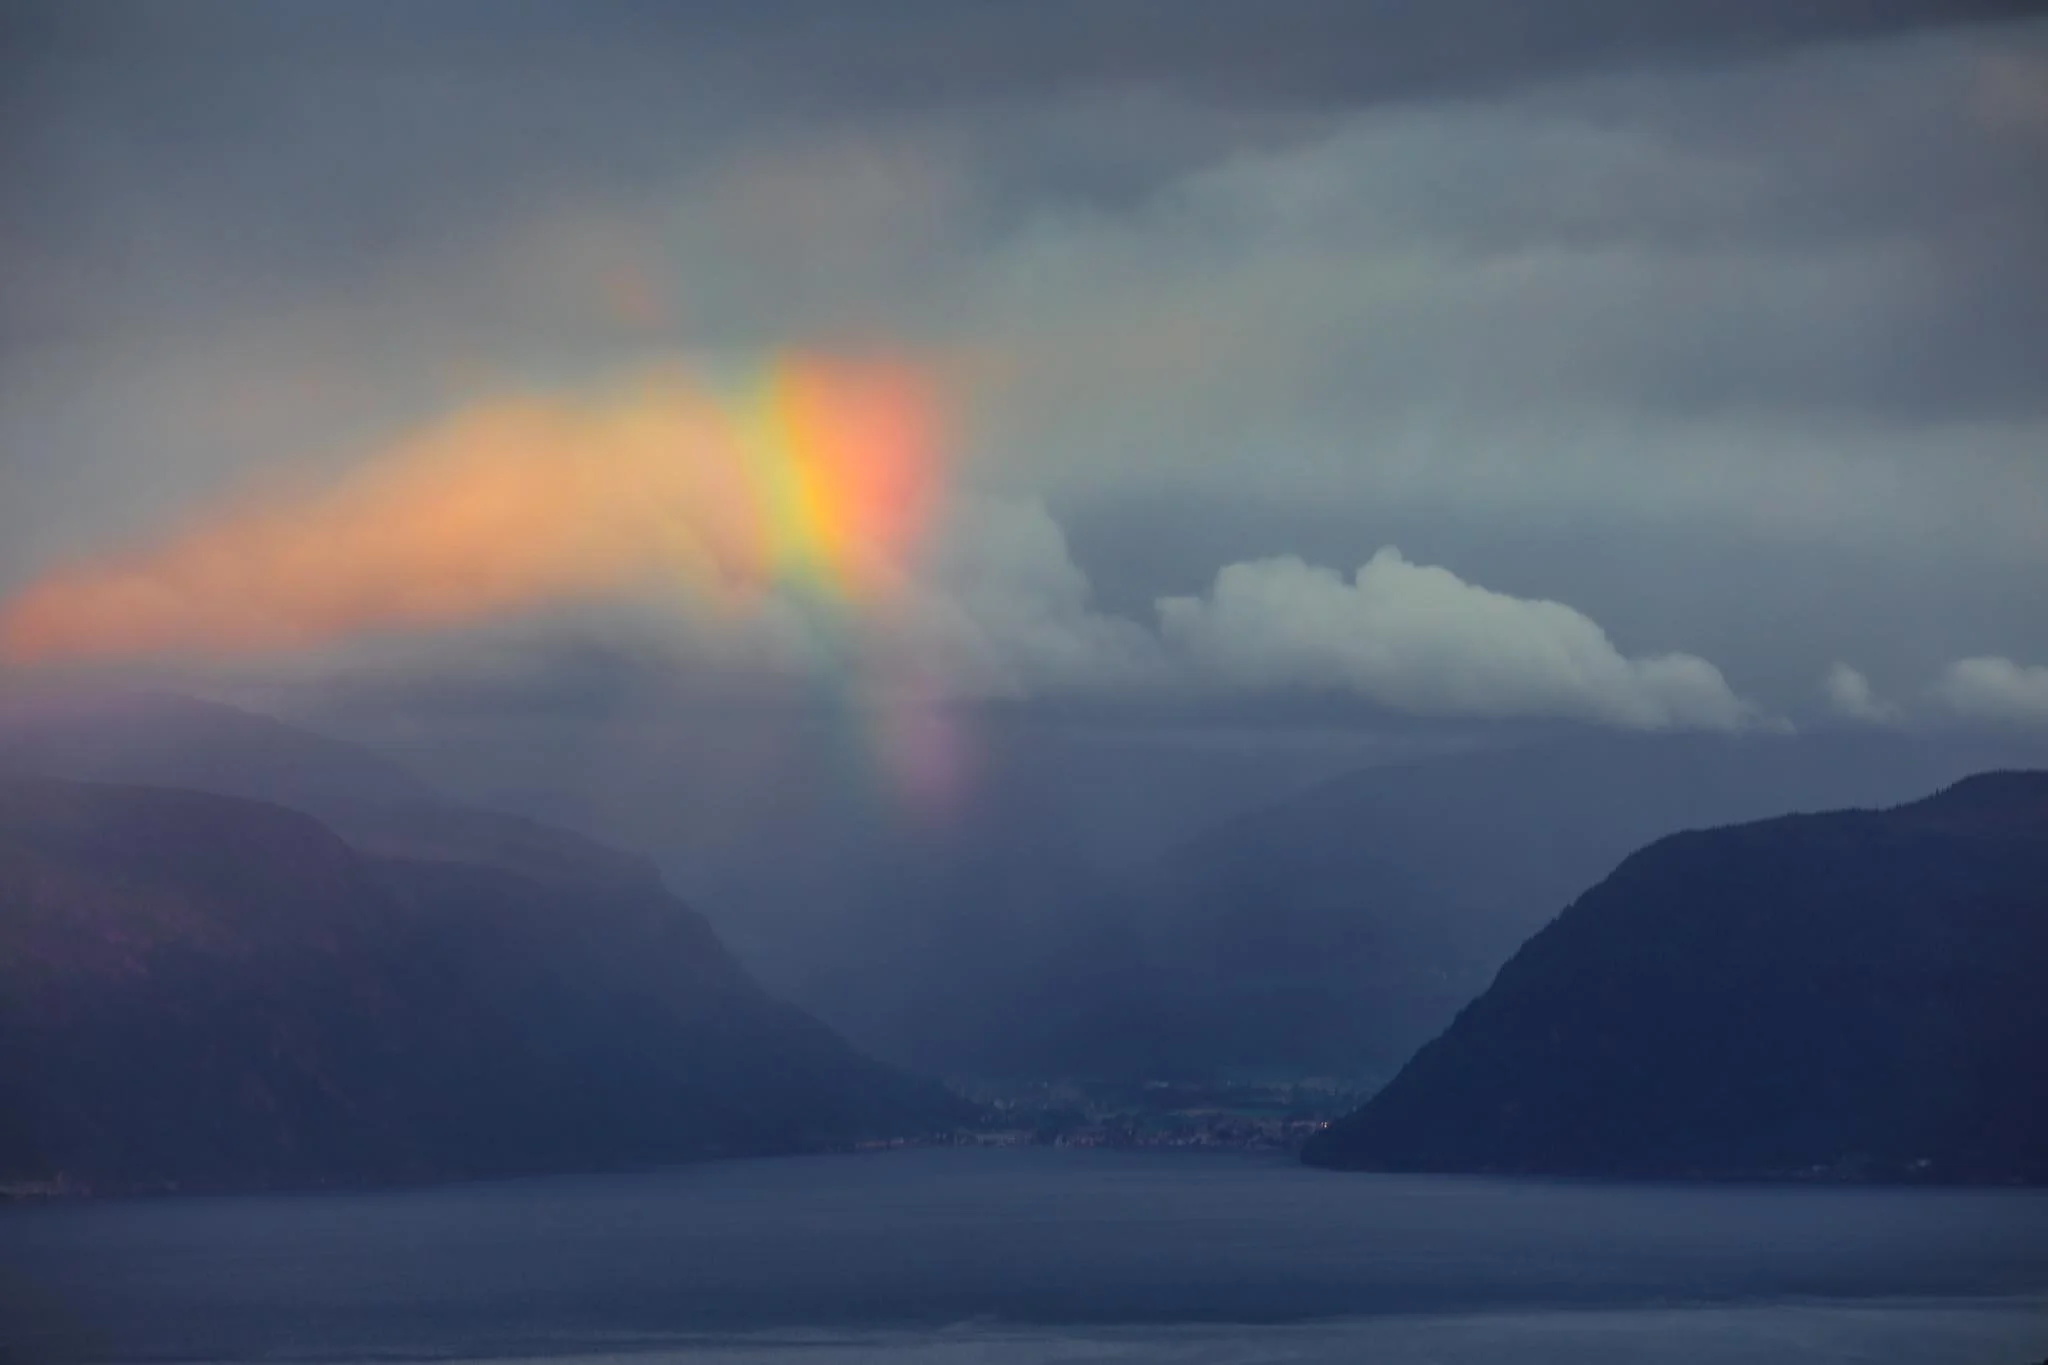
The rainbow only stood out because the background stayed dark. Without that contrast, it would have been much less visible.
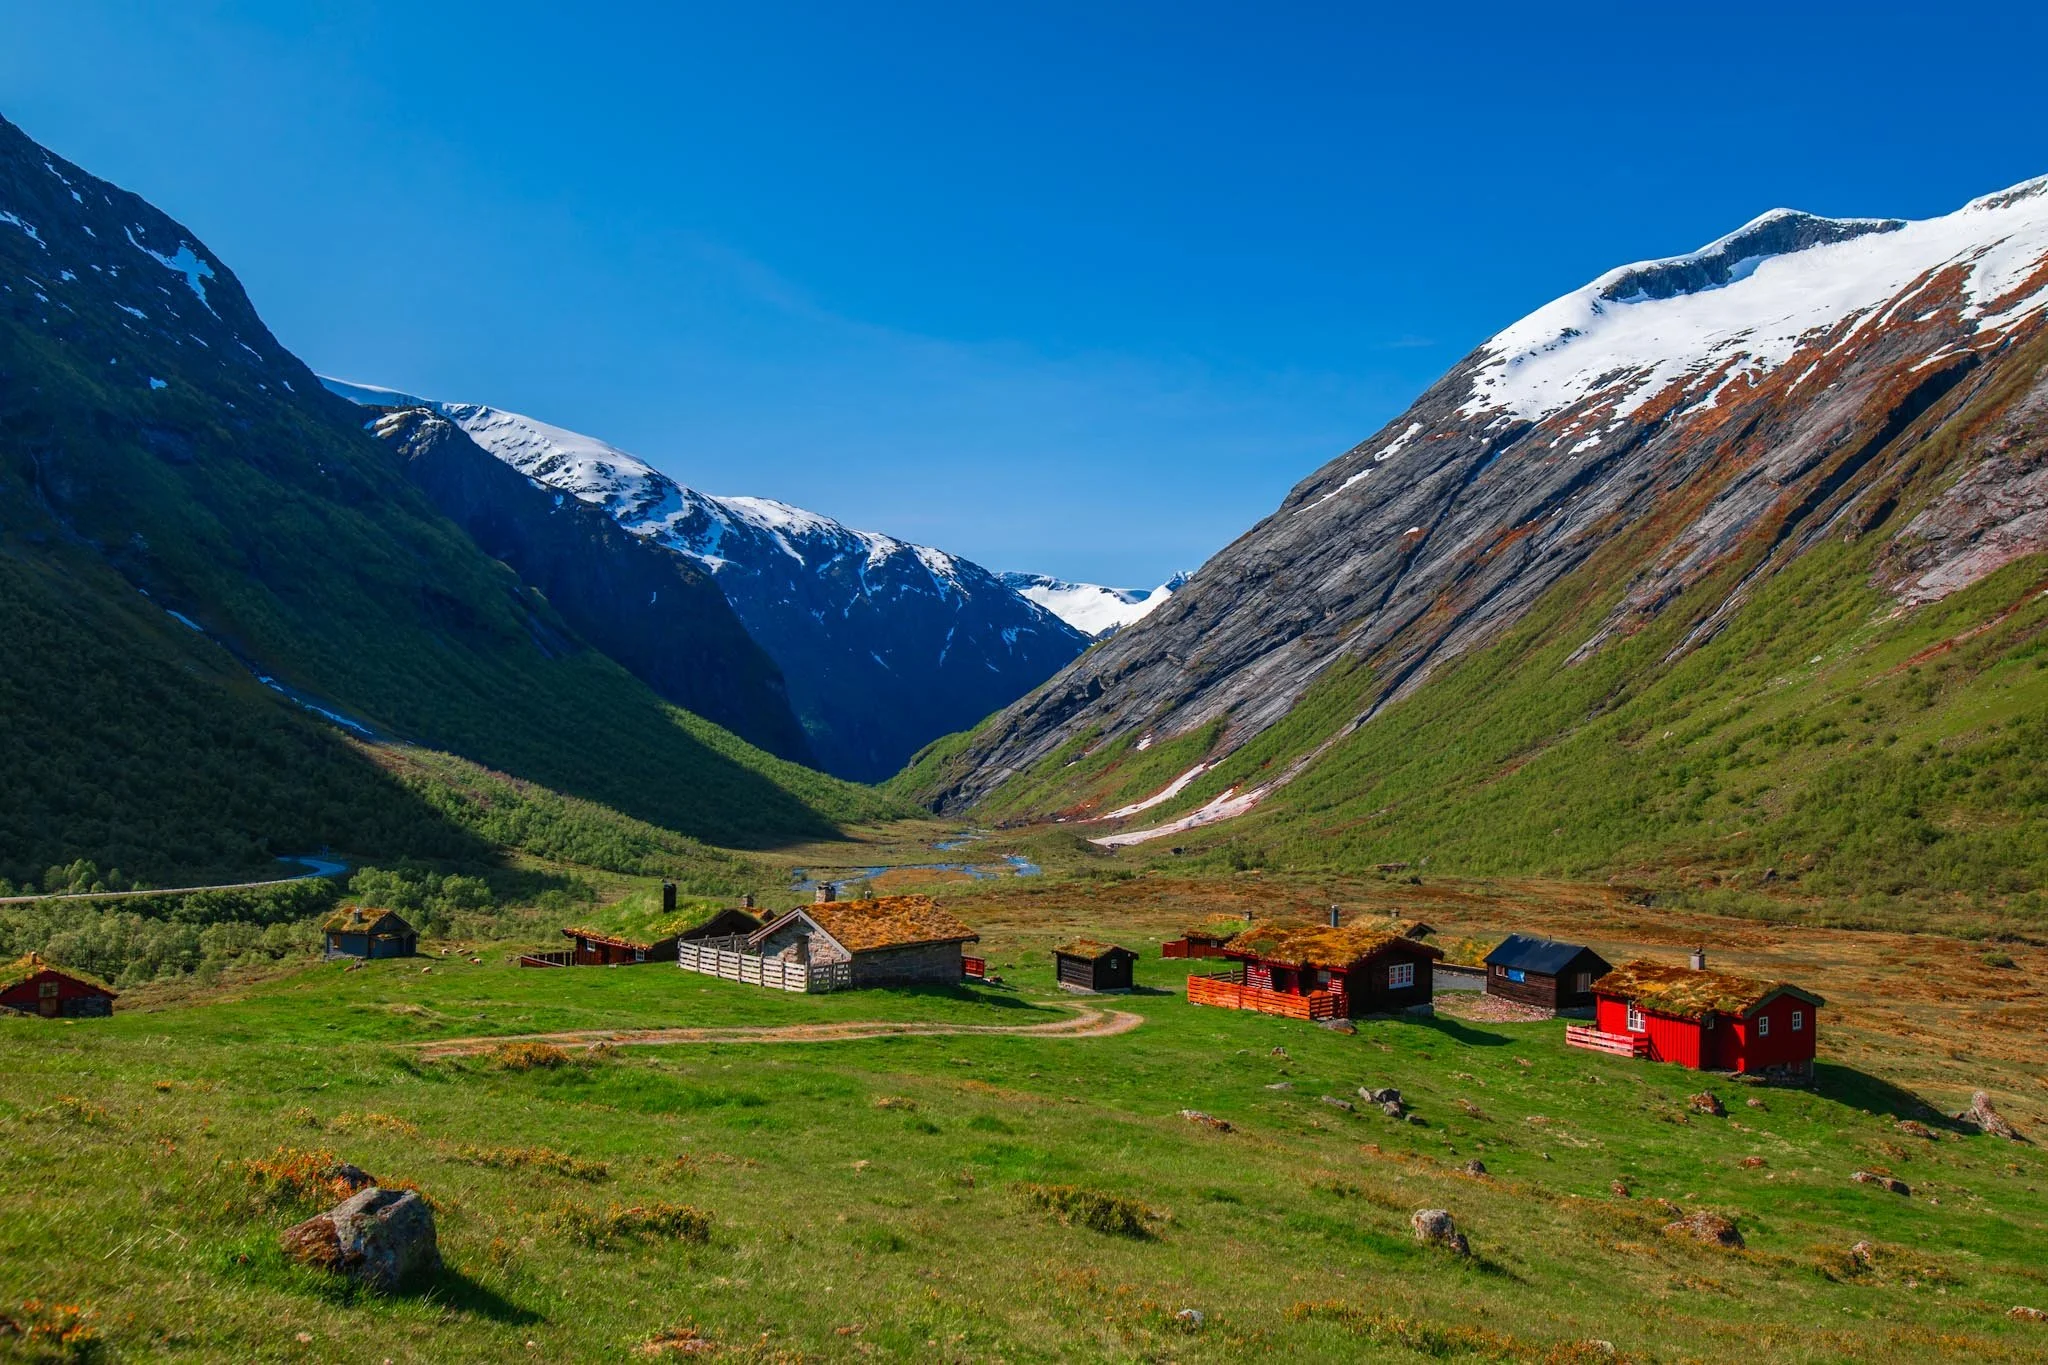
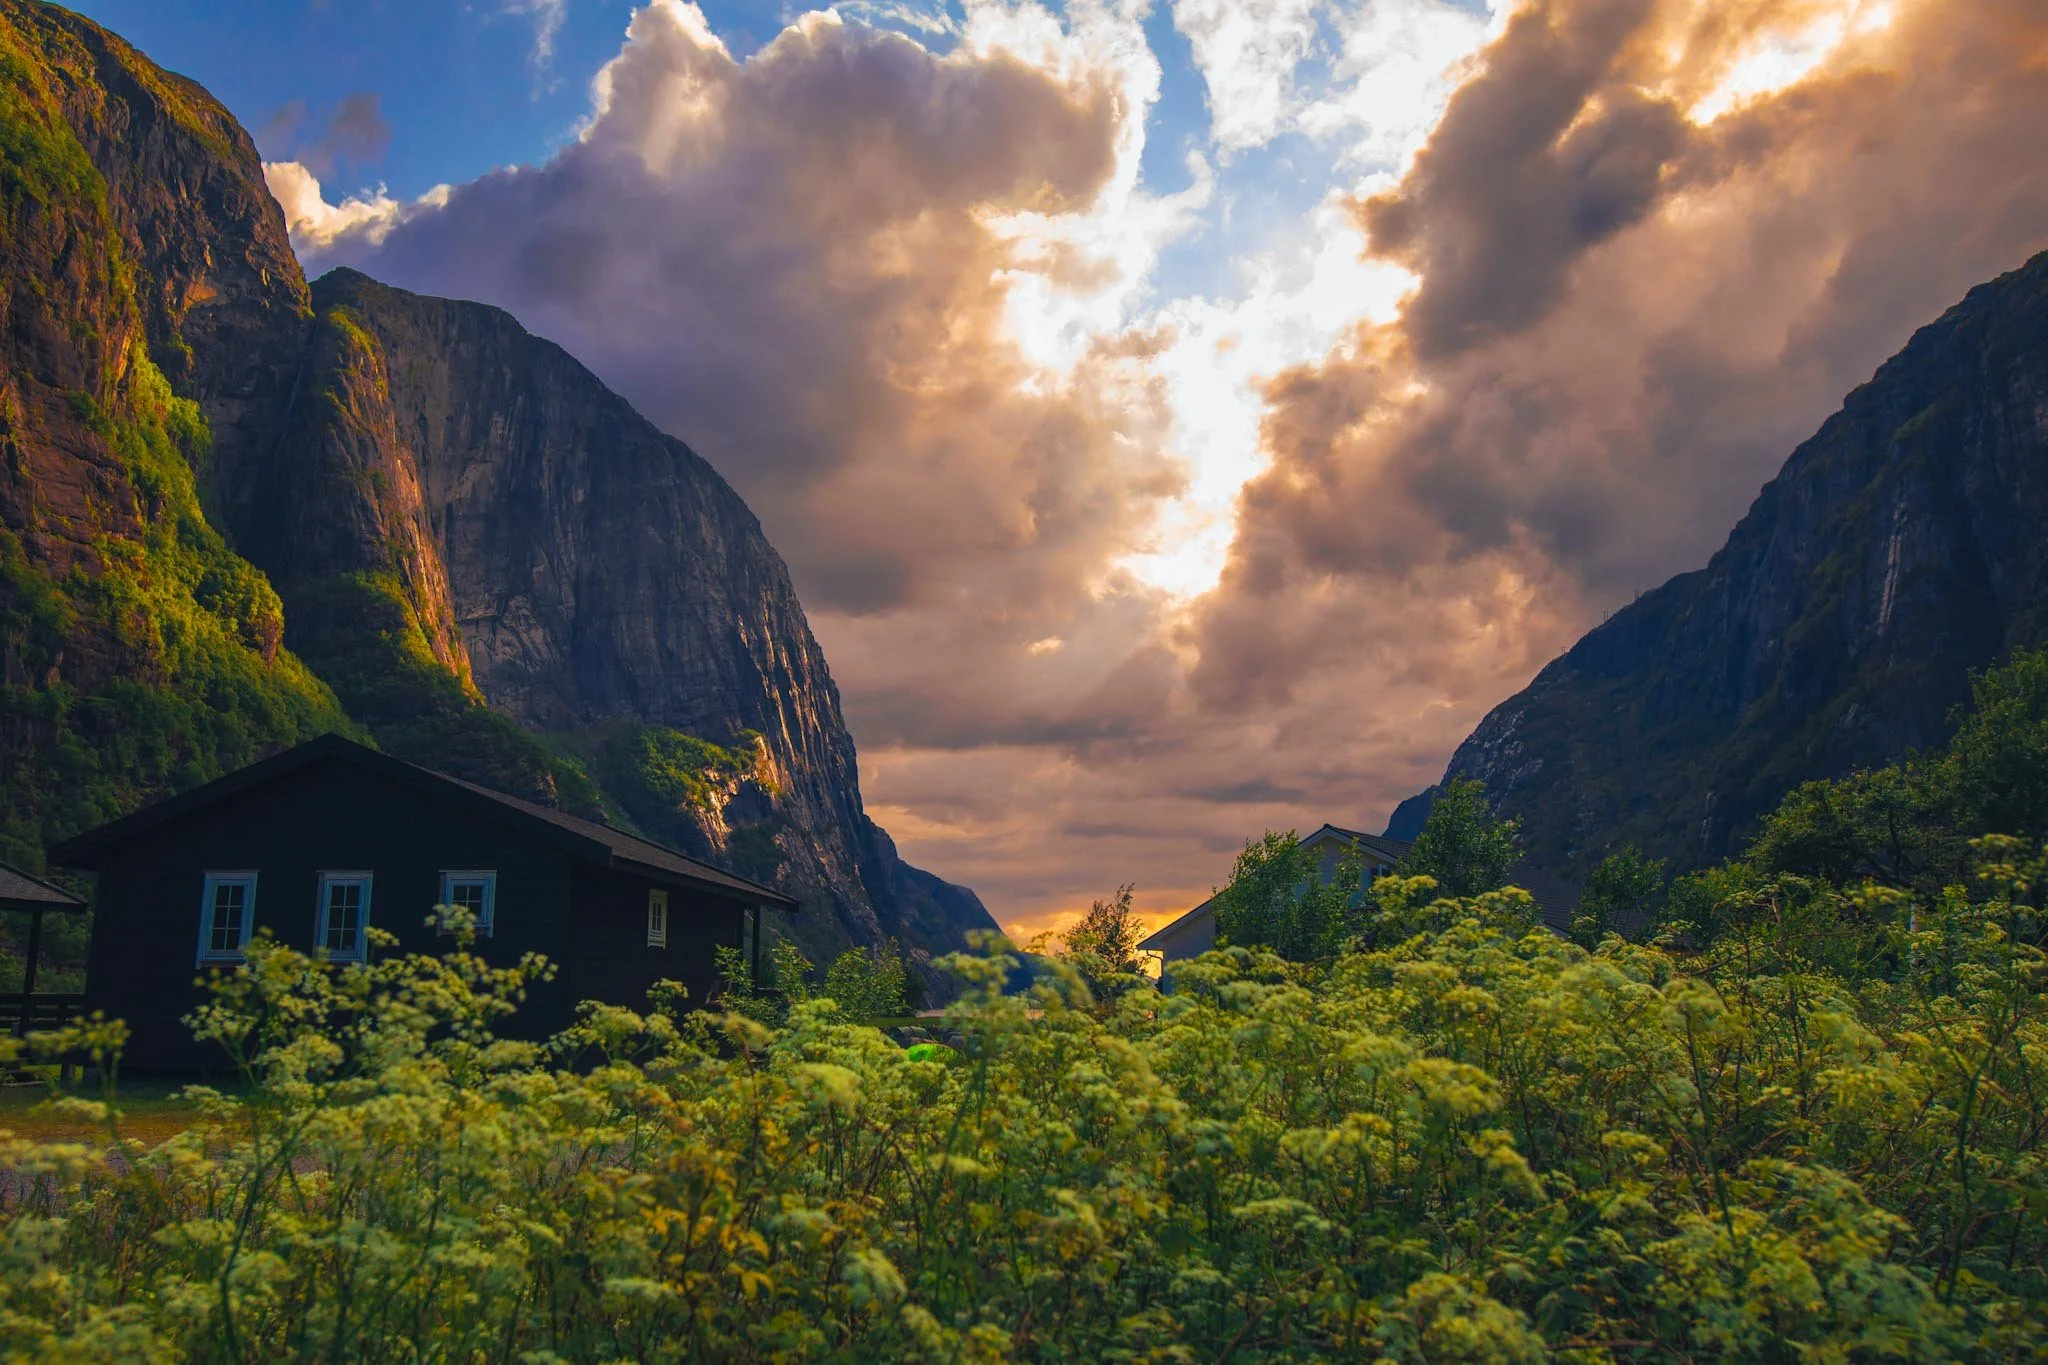
There was another moment near a small cabin where light hit only a small section of land while everything else stayed under cloud. That isolated light created a clear focal point without needing any change in composition.
Light hit only a small section of land around the cabin while everything else stayed under cloud. That contrast created a clear focal point without changing the composition.
When you’re looking at a scene, ask yourself if the light is separating elements or not. If everything has the same brightness, the image will usually feel flat. If one part stands out, that’s where the image often is.
SOFT LIGHT AND HARD LIGHT
Because we were travelling as a group, I didn’t have time to wait for long. Most of the time, I was shooting quickly and making decisions on the spot. That meant I had to trust what I was seeing immediately.
Some of the best light lasted only a few seconds. Light would hit the top of snowy peaks and disappear almost immediately as clouds moved back in. These moments were easy to miss if I hesitated.
Light appeared briefly on the peaks and disappeared just as quickly. Moments like this are easy to miss if you are not already prepared.
That’s why preparation matters. If you see that light might reach your scene, set up your composition before it happens. If you wait until it appears, you will likely miss it.
WHEN THE LIGHT DOESN’T WORK
There were many stops where the light didn’t develop at all. Some locations looked promising but never improved. Recognising this early saved time.
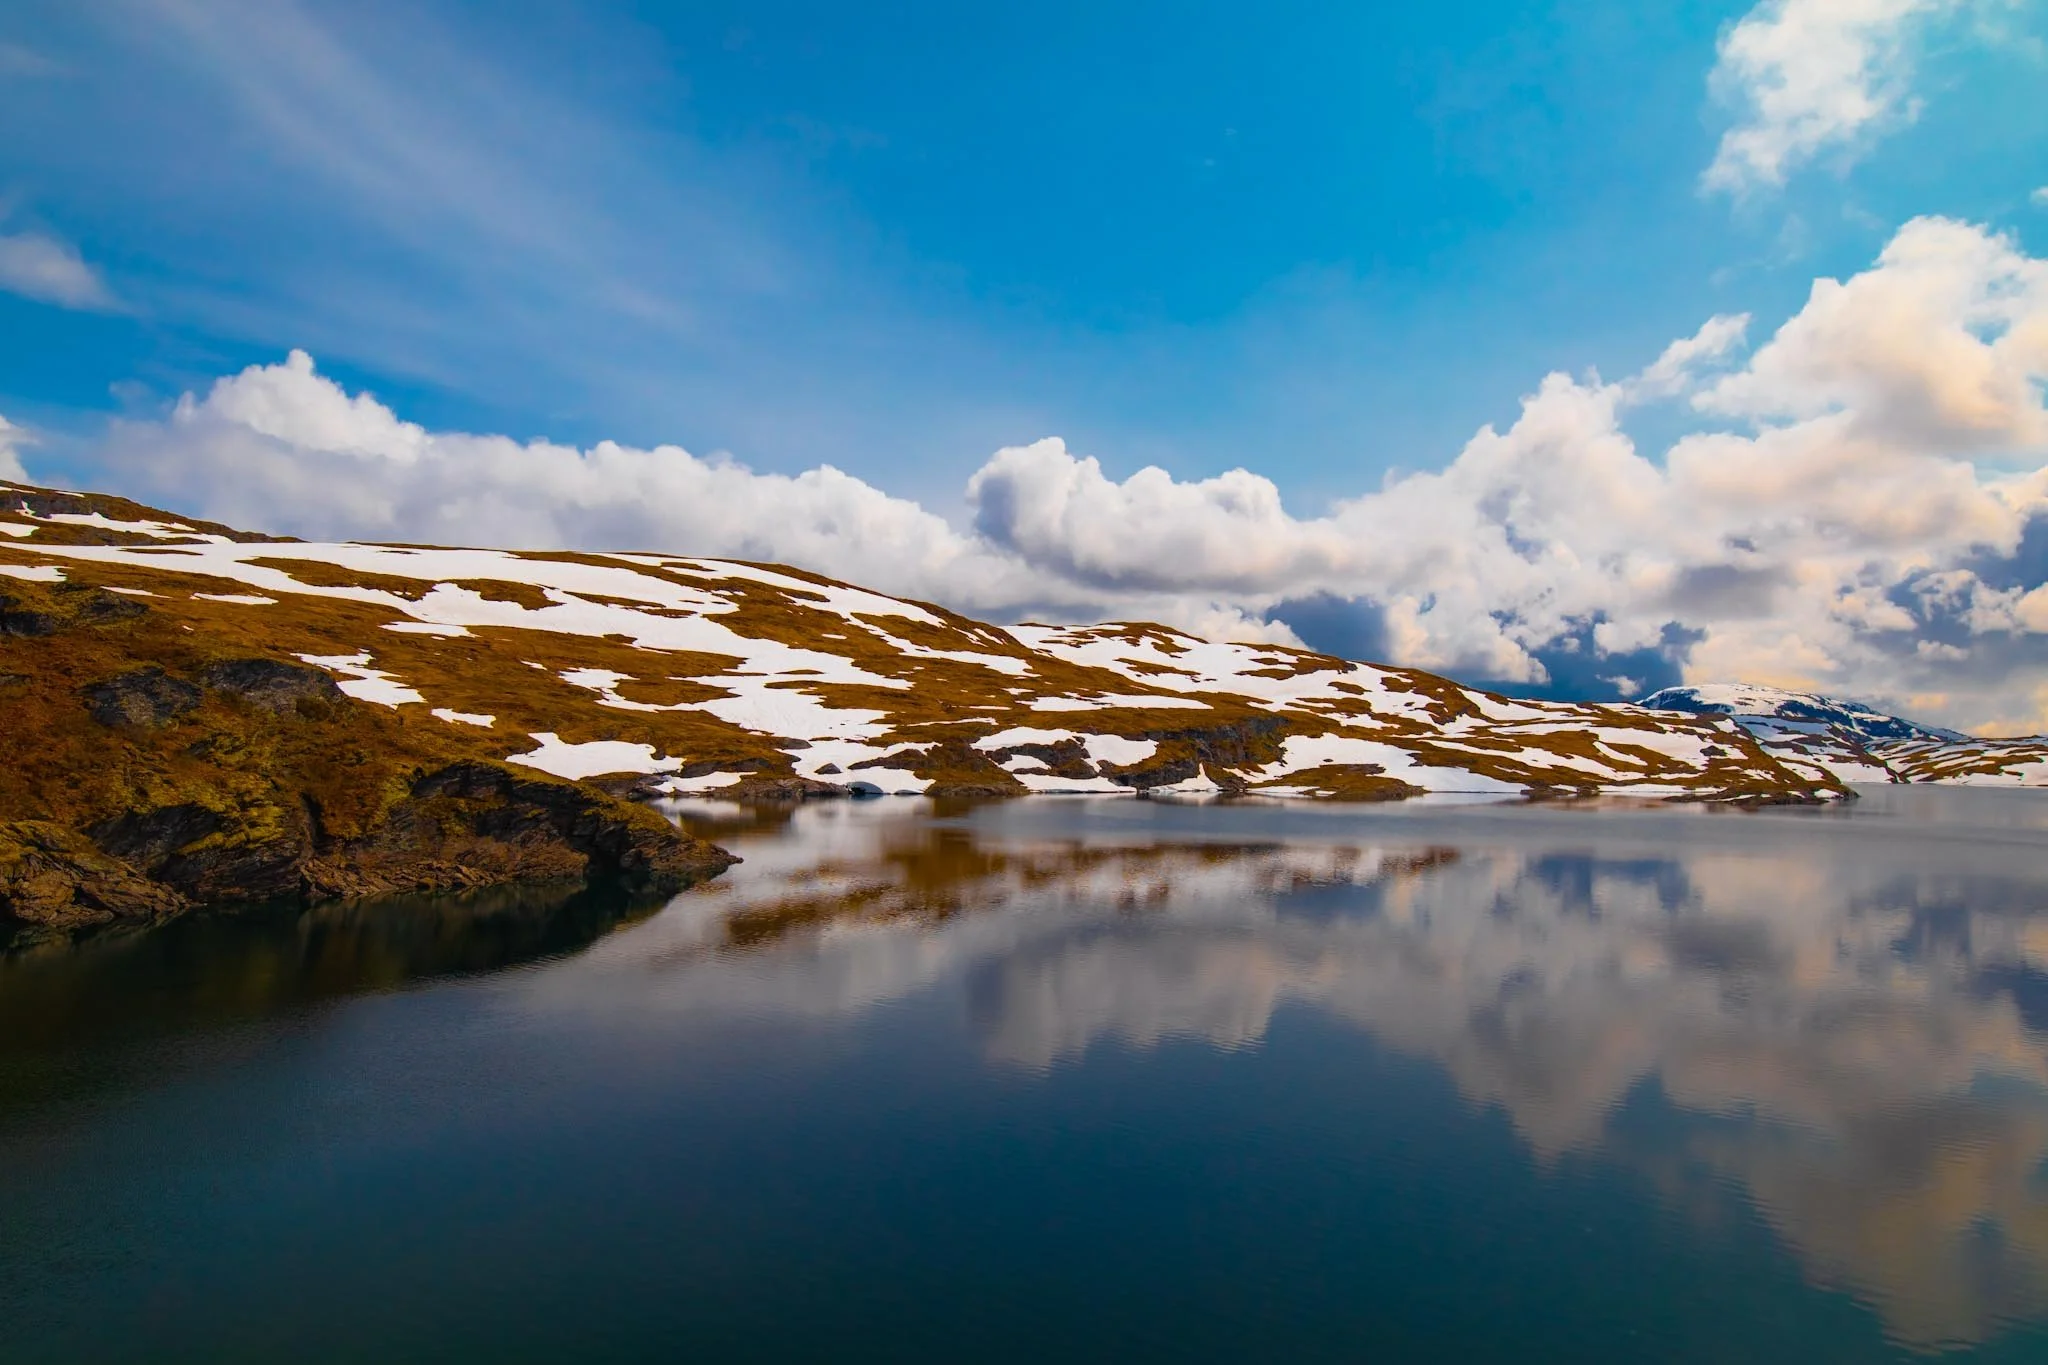
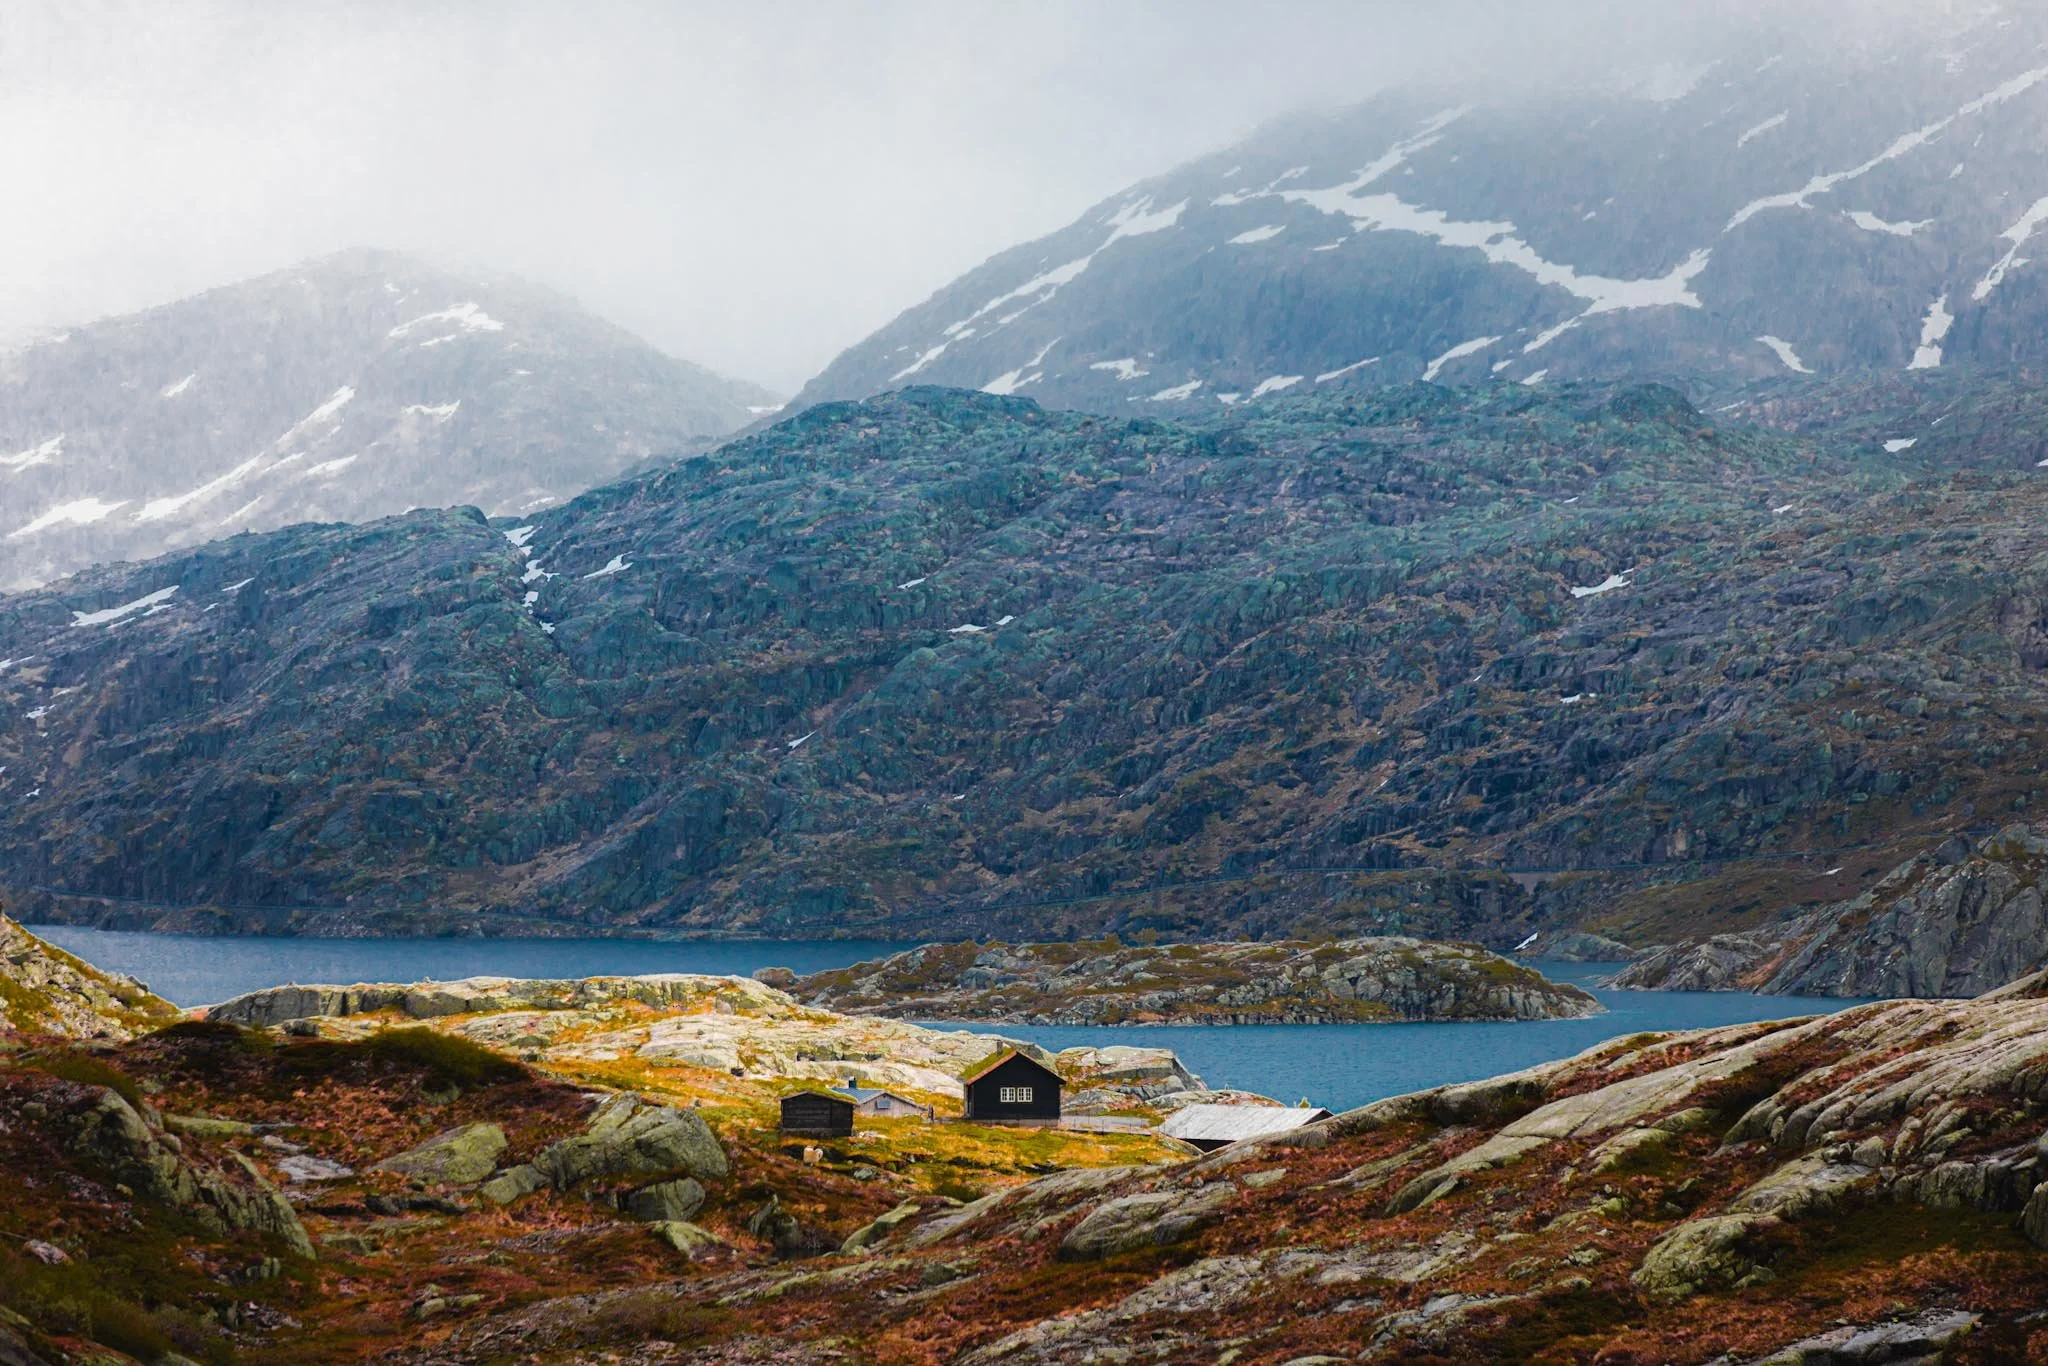
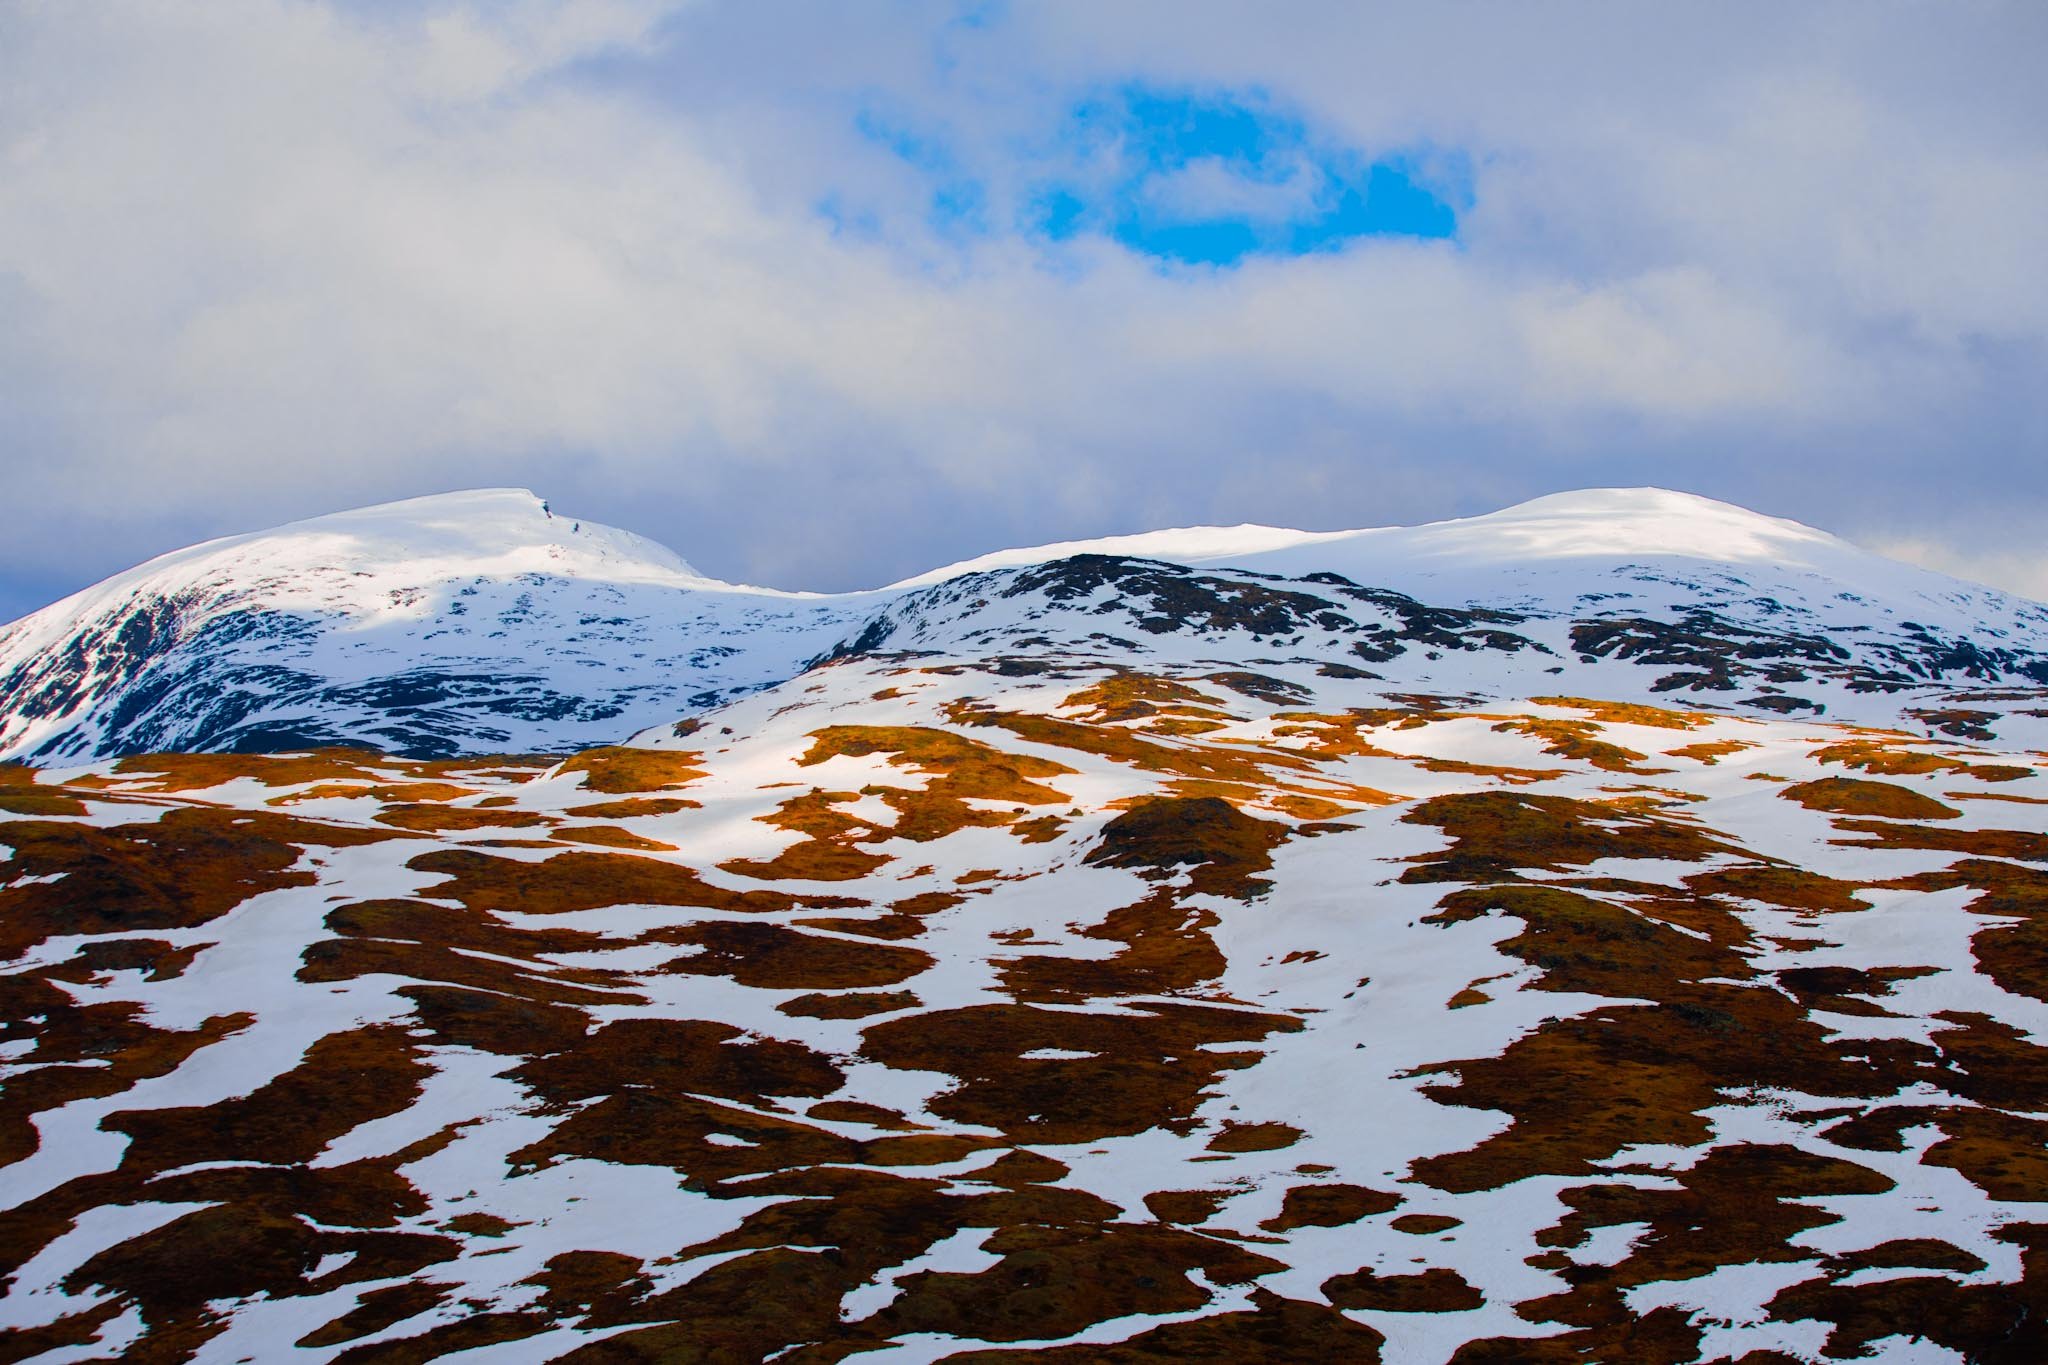
In higher areas, especially where snow covered most of the landscape, the light was often flat and had no direction. Everything looked similar regardless of how I framed it.
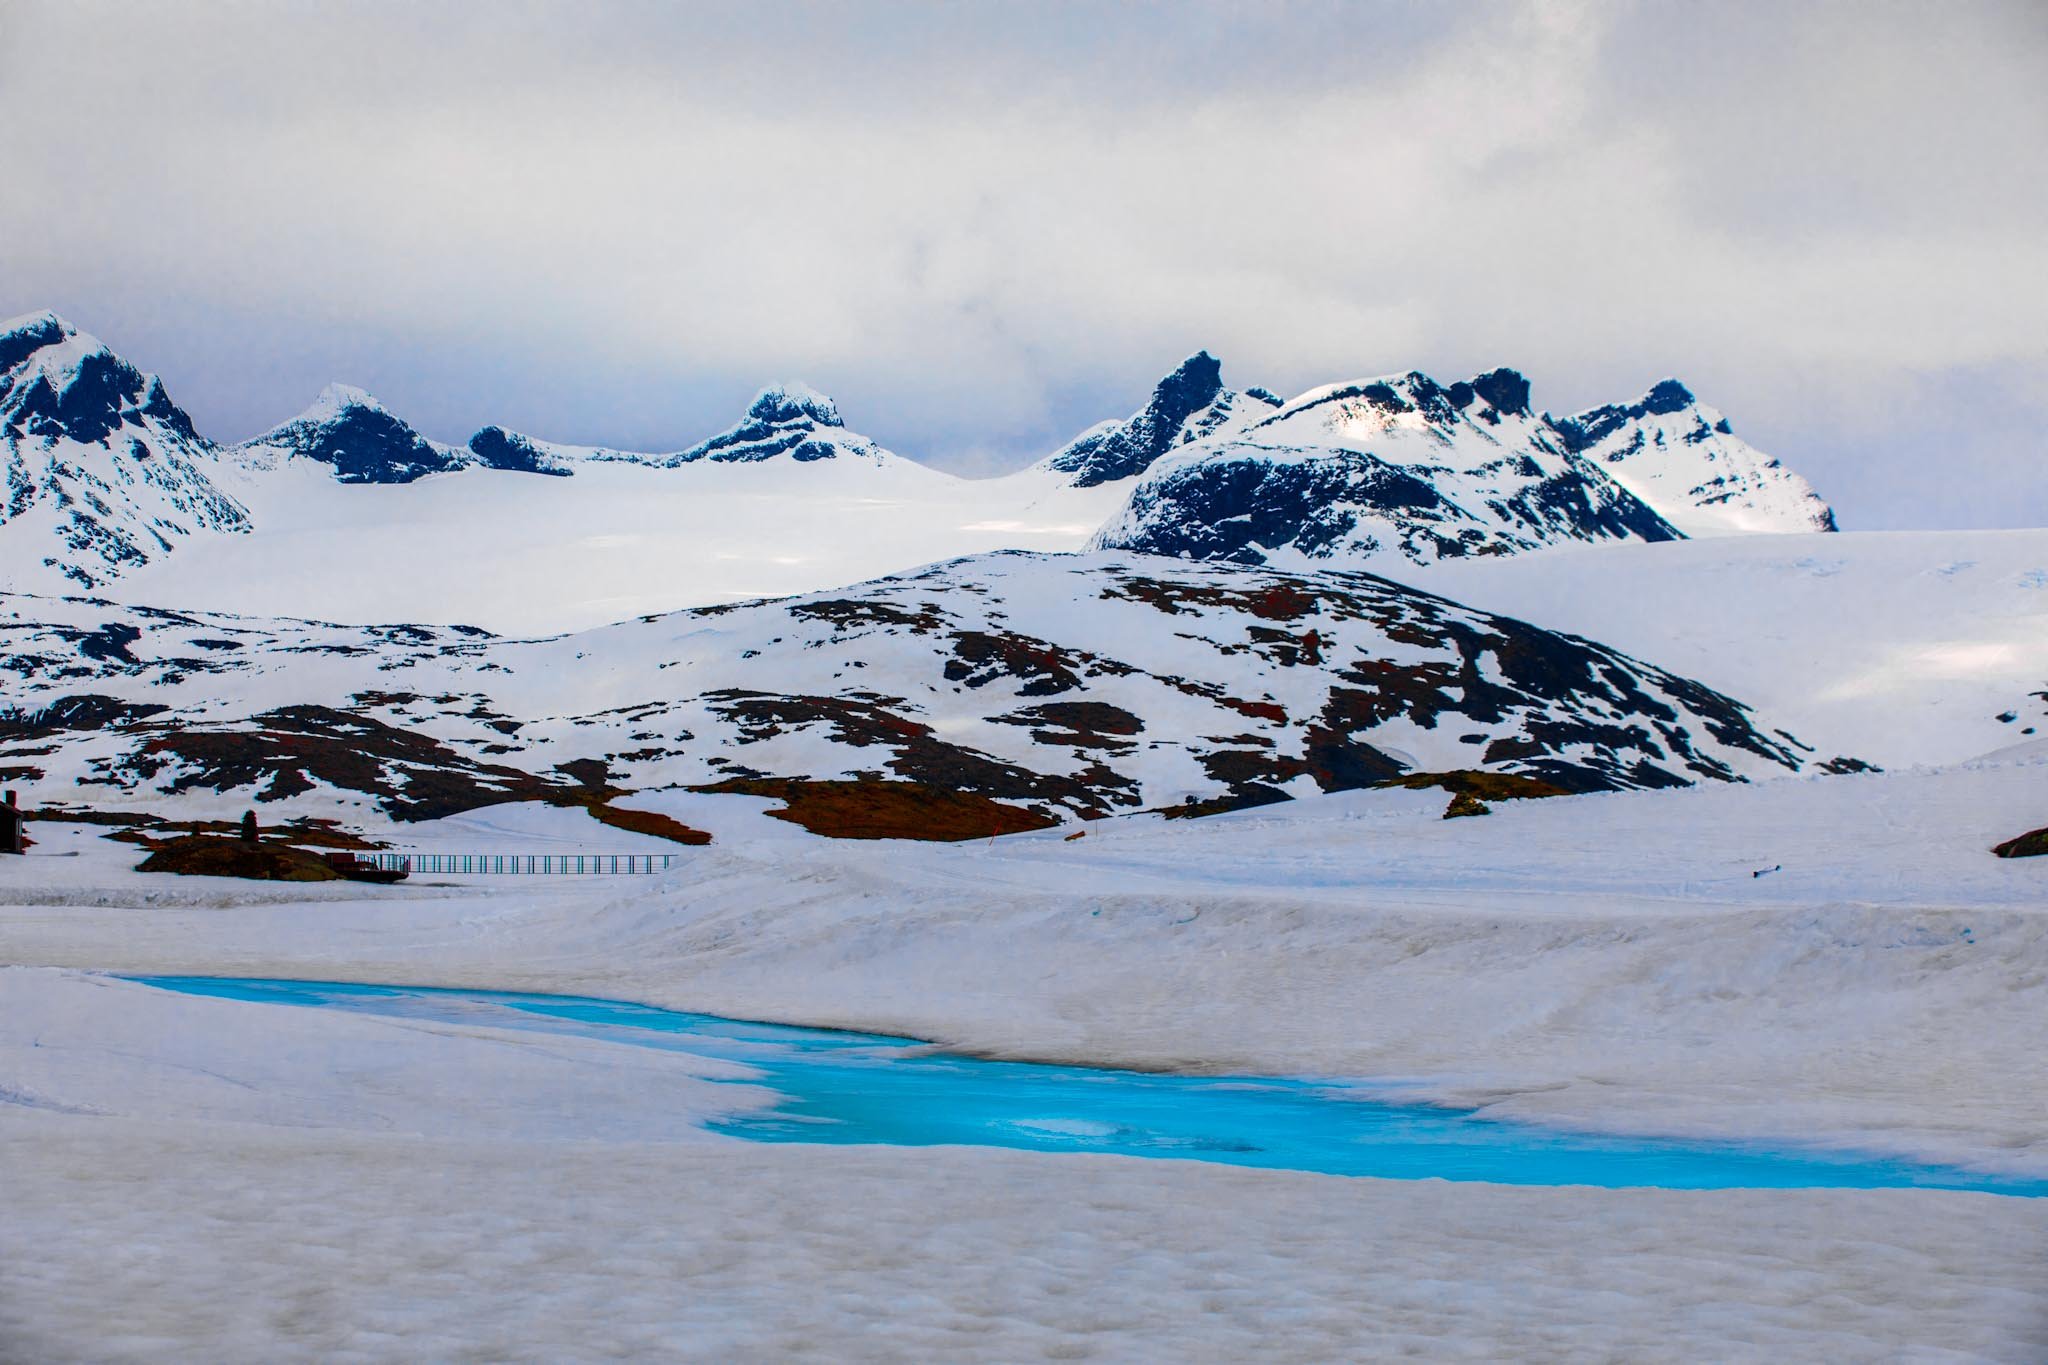
Flat light with no direction made everything blend together. In these conditions, changing composition didn’t make a significant difference.
In those situations, it’s better to recognise it early. You can either simplify the scene or move on. Trying to force an image when there is no contrast or direction usually doesn’t lead to strong results.
LEARNING TO RECOGNISE LIGHT
This trip changed how I approach landscape photography. It forced me to make decisions faster and rely less on ideal conditions. That shift made a noticeable difference in the results.
Before, I focused more on finding locations. During this trip, I had to rely on observation instead of waiting. Over time, it became easier to recognise when light was actually doing something useful and when it wasn’t worth stopping.
CONCLUSION
In places like Norway, especially in summer, good light is not constant. It appears briefly and disappears just as quickly. That makes timing more important than location.
If you learn to recognise direction, movement, and contrast, you don’t need to rely on perfect conditions. You start using what is available and making decisions based on how light is behaving in the moment. That’s what allows you to get strong images even when conditions are not ideal.

Even in strong light, using foreground elements helped add depth. When light is less interesting, composition needs to do more of the work.
Enjoying the article? Follow along on Instagram for more of my work
I’d be interested to hear how you approach working with light in your own photography.